Talking Head Video: How to Film and Edit One Well
Learn what a talking head video is, which formats work, and how to record and edit one that holds viewers from the first second.
You've propped your phone against a mug, recorded a product explanation, and watched it back. The message makes sense, but your eyes keep drifting away from the lens, the room sounds hollow, and you're not sure whether cutting every pause will make you sound better or less believable.
A good talking head video doesn't need an elaborate studio. It needs a clear reason to listen, a recording that's easy to understand, and an edit that removes distractions without removing the person.
What a Talking Head Video Is and Why It Works
Say you're filming a short explanation of a travel bag. You hold it up, describe why you chose it, and explain what happened when you used it. Before the viewer hears the whole story, they're already deciding whether your opening feels relevant and your delivery feels credible.
A talking head video puts a person speaking to camera at the center of the message. The camera usually stays still, while the speaker's voice, face, and expression carry the explanation. Supporting footage can appear, but the person remains the guide.
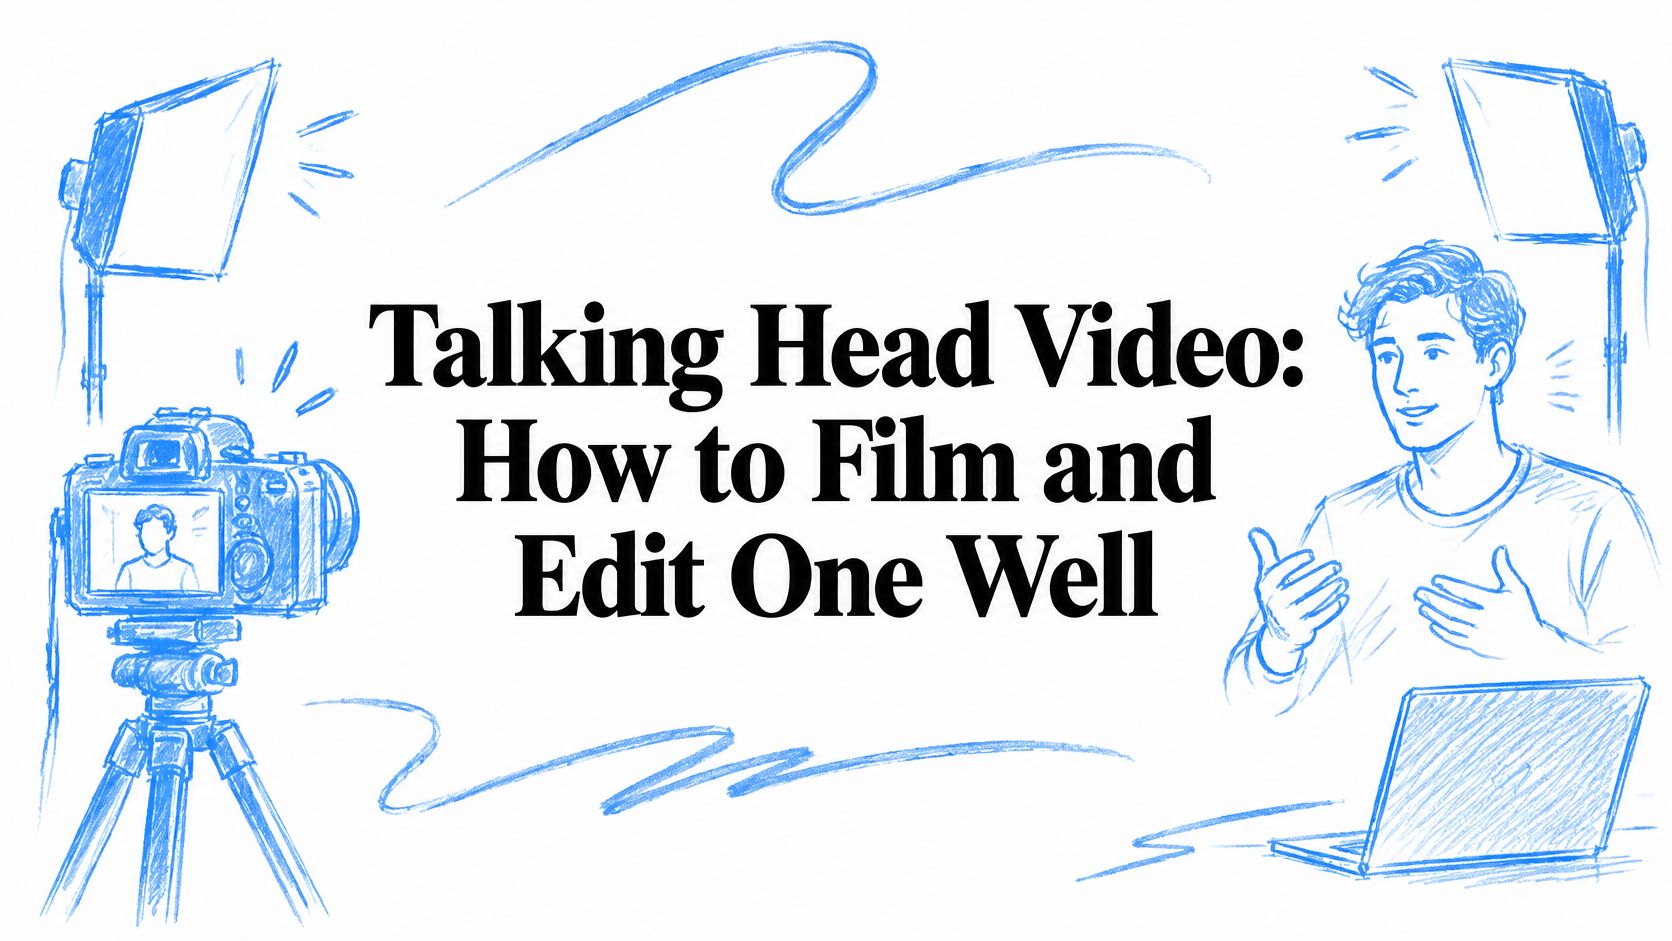
This illustration captures the relationship between recording a message and earning a viewer's attention.
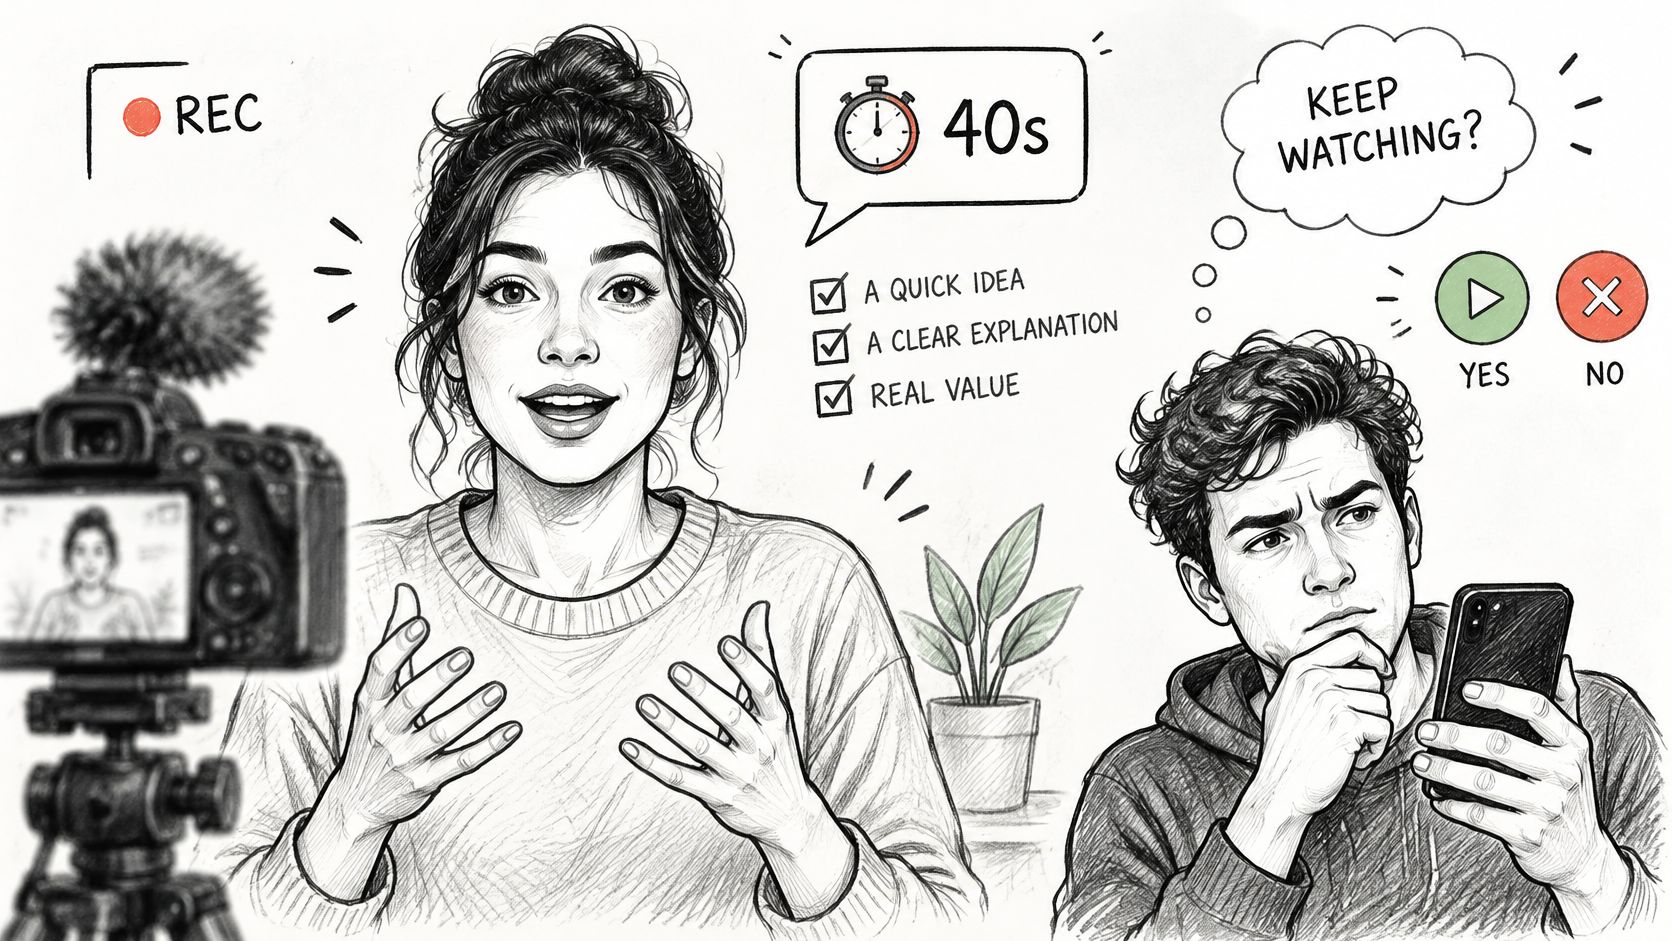
Think of a friend leaning across a kitchen table rather than a lecturer addressing a distant room. The lens stands in for eye contact. You can hear confidence, notice uncertainty, and judge whether the explanation matches the speaker's expression.
That makes the format useful for teaching an idea, giving an opinion, sharing a testimonial, introducing a product, or guiding a tutorial. It's also practical to produce: a phone, a quiet space, and controlled light can be enough to begin.
Choose the person's role carefully
In HubSpot's video marketing survey, 73% of marketers surveyed in 2024 said video marketing was effective or very effective for helping their companies reach business goals. That finding concerns video broadly, not proof that a talking head is always the best format.
Use this distinction when planning:
Format test: If the message depends on someone's judgment or experience, show the person. If understanding depends on seeing a process, show the process too.
For the travel bag, personal experience belongs on camera. How the compartments open belongs in a demonstration.
Talking Head Formats and When Each One Fits
Find your goal in the table, then read across to the running-length rule and edit style. Typical length is a planning decision, not a platform limit. Use the amount of explanation or evidence required, and verify current publishing limits before committing to a delivery specification.
Talking head formats, typical length and edit style
| Format | Best for | Typical length | Usual edit |
|---|---|---|---|
| Straight-to-camera explainer | Teaching an idea, opinion, or update | Enough to explain the claim and give a useful example | Jump cuts, captions, selective zooms |
| Testimonial or reaction | Social proof from a customer or creator | A complete experience and its outcome, without background history | Hook line on screen, light captions |
| Talk + demo split screen | Showing a product while explaining it | Long enough to demonstrate the feature being discussed | Demo panel below the face, cut to demo |
| Tutorial with B-roll | Step-by-step how-to content | Enough to show every necessary action and result | Cutaways to hands or screen, chapter titles |
| Two-person interview | Conversations, podcasts, and Q&A | A focused question through a complete answer | Alternating shots, speaker labels |
| Selfie-style vlog | Personal updates and stories | A self-contained event, observation, or update | Handheld feel, minimal captions |
A testimonial doesn't need an explainer's introduction. If a customer can describe the problem and their experience directly, adding a long setup only delays the useful part. Conversely, squeezing a tutorial into a reaction-style clip can remove the action a beginner needs to see.
Match the edit to the evidence
For a software walkthrough, keep the speaker visible when their explanation adds context, then enlarge the screen recording when the viewer needs to read an interface. A side-by-side layout can help compare views, but it isn't useful if both panels become too small to understand.
For an interview, let the listener's reaction remain when it changes how the answer feels. Don't switch angles because the shot has stayed still.
The shorter the clip, the fewer ideas it can carry. Start with a single message, then add material only when it helps the viewer understand or believe that message.
Before recording, write the format, its goal, and its stopping point. For example: a testimonial showing why the customer changed products, ending once they've explained the outcome.
Framing, Lighting and Sound Before You Record
Set up in this order: frame, light, then sound. Each choice should solve a recording problem, not create an effect you'll have to undo later.
Start by choosing the orientation. A vertical frame suits a full-screen mobile presentation; a horizontal frame gives demonstrations and conversations more room. Compose for the intended destination rather than assuming you can crop everything afterward.
Setup targets for a talking head shot
| Element | Target setting | Why it matters |
|---|---|---|
| Eye line | Eyes in the upper portion of the frame, with room for natural movement | Keeps attention on the face without crowding it |
| Headroom | A small visible gap above the head | Prevents cramped framing without wasting space |
| Camera height | Lens at the speaker's eye level | Avoids an unintended looking-up or looking-down perspective |
| Key light | In front and to the side, slightly above the eyes | Gives the face shape while keeping the eyes visible |
| Background distance | Enough space to avoid sitting directly against the wall | Helps separate the speaker from the background |
| Microphone | A lavalier on the upper chest or a directional microphone close to the speaker | Captures speech more directly than a distant microphone |
| Audio level | Clear speech with room below the recorder's clipping warning | Protects louder words from distortion |
Make the recording easier to edit
A window can serve as your main light. Face toward it, then turn slightly until the face has gentle shading rather than a dark eye socket. Avoid placing the brightest window behind you unless you can also light your face.
For sound, move away from bare walls and noisy appliances. Curtains, rugs, and upholstered furniture can help reduce room reflections. Clip a lavalier where fabric won't brush against it, and listen for necklaces, hair, or clothing touching the capsule.
A clean recording gives you choices. Distorted speech and a badly exposed face give you repair work.
Record a short test that includes your loudest expected delivery. Play it through headphones and a phone speaker, checking for echo, clipping, clothing noise, and distracting background objects.
Once the shot is readable and the voice is clear, stop adjusting. A more elaborate setup isn't useful if it makes you tense or prevents a natural performance.
How to Record a Talking Head Video Step by Step
Treat the recording as a conversation with a destination. You need to know where you're taking the viewer, but you don't need to memorize every breath.
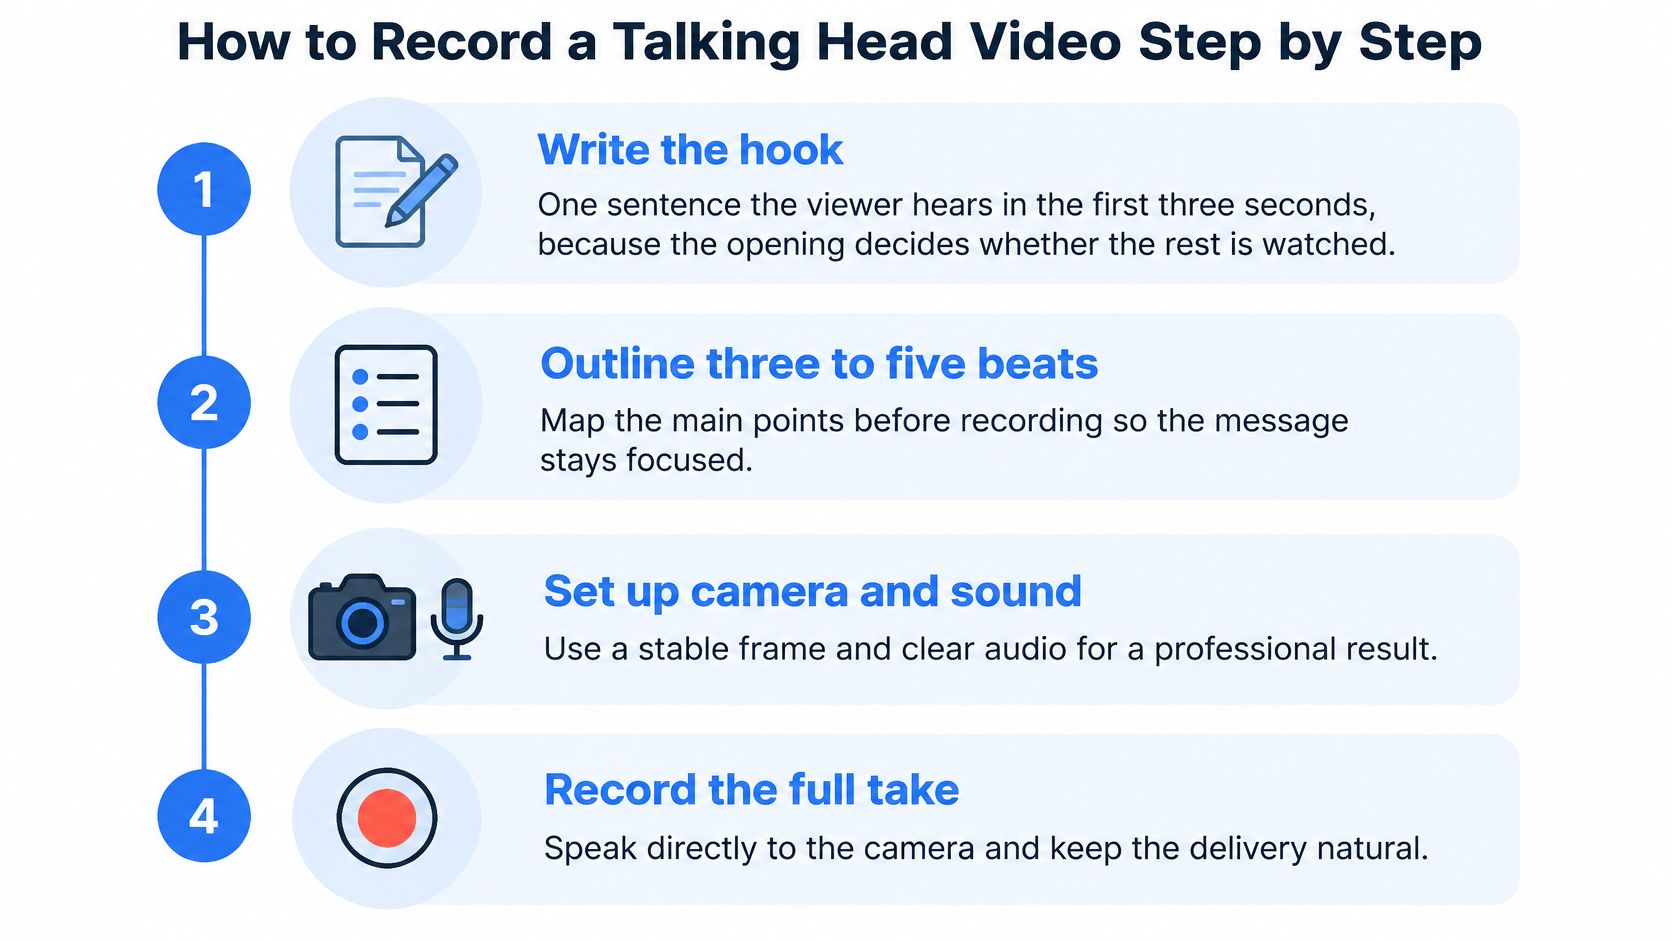
The visual guide summarizes the recording workflow.
Prepare the message and the shot
Write the hook as a complete thought. Lead with the problem, result, or question the viewer came for, such as explaining how you check whether a bag fits your work essentials. Avoid rushing through a vague promise or starting with an apology about recording.
Outline the route through the message. Put the claim, supporting evidence, example, and next action in a sensible order. Use short prompts near the lens rather than reading a dense paragraph, which can make your eyes track sideways and your delivery flatten.
Test the actual setup. Record yourself speaking at normal volume, moving your hands, and holding any product you'll show. Check the result on a phone screen, where small labels and subtle demonstrations may be harder to see.
Record for meaning, not perfection
Speak to the lens as if you're helping someone. Finish each important thought before moving on, and allow a natural pause where you'd expect a listener to process it. Don't stare rigidly or suppress every expression in an effort to look professional.
Repeat the weak passage, not automatically the entire recording. If the opening is unclear but the example works, record another opening with the same position and energy. Constantly restarting from the beginning can make the ending sound tired and the introduction over-rehearsed.
Capture supporting footage separately. Film the hands, product, screen, or result that proves what you said, holding each view until the action is complete. Don't whip the camera away immediately after the useful moment, because the editor needs room to enter and leave the shot.
Leave clean beginnings and endings. Settle before speaking and remain in position after the final line. Reaching for the stop button while finishing your call to action makes the ending harder to trim cleanly.
A good take sounds like you understand what you're saying. Keep it when the meaning is clear and the delivery feels engaged, even if another take has fewer tiny imperfections.
How to Edit Talking Head Footage in Order
A good talking head edit removes friction, not personality. False starts, accidental repetition, and searching for a word may distract the viewer; a thoughtful pause or a genuine reaction may help them understand the speaker.
Keep the original camera file and work from an editable copy. That gives you a way back if an automatic cut changes the meaning or removes a useful expression.
Build the spoken edit first
Transcribe the recording with timestamps. A searchable transcript helps you locate the claim, example, and call to action without repeatedly scrubbing through the waveform. Check that the transcript reflects what was said before using it to make content decisions.
Remove mistakes and unnecessary repetition. Cut abandoned sentences and accidental restarts, then listen across each join. When you remove filler words from video, preserve words that communicate hesitation, qualification, or a change in thought.
Check caption wording against the audio. A 2024 caption-enhancement study reported that word error rate fell from 23.07% to 9.75% after language-model post-processing. Automatic correction still needs review, especially for names, quantities, product terms, and any substitution that changes the claim.
Regenerate caption timing after substantive cuts. Removing speech changes where later words fall on the timeline. Watch the speaker's mouth and listen to the phrase while checking that the matching caption appears at the right moment.
Add visual support last
Use a zoom or cutaway for a reason. A closer crop can emphasize a key claim or conceal a necessary edit, but it shouldn't become punctuation on every sentence. Keep enough image quality and framing space that the closer shot still looks intentional.
Place demonstrations where the explanation requires them. Show the feature as the speaker names it, and stay on the shot long enough to understand the action. Don't cover a meaningful facial reaction with unrelated decorative footage.
Add the on-screen opening and review the export. Make the title specific to the clip rather than louder than the content. Watch the opening at its actual display size, then check the full export for broken words, awkward joins, missing media, and an ending that cuts off too soon.
Finish with a muted pass to inspect caption changes and visual continuity. Then listen without watching: if the speech feels breathless or oddly assembled, restore space before adding more effects.
Where Editing Helps and Where It Erodes Trust
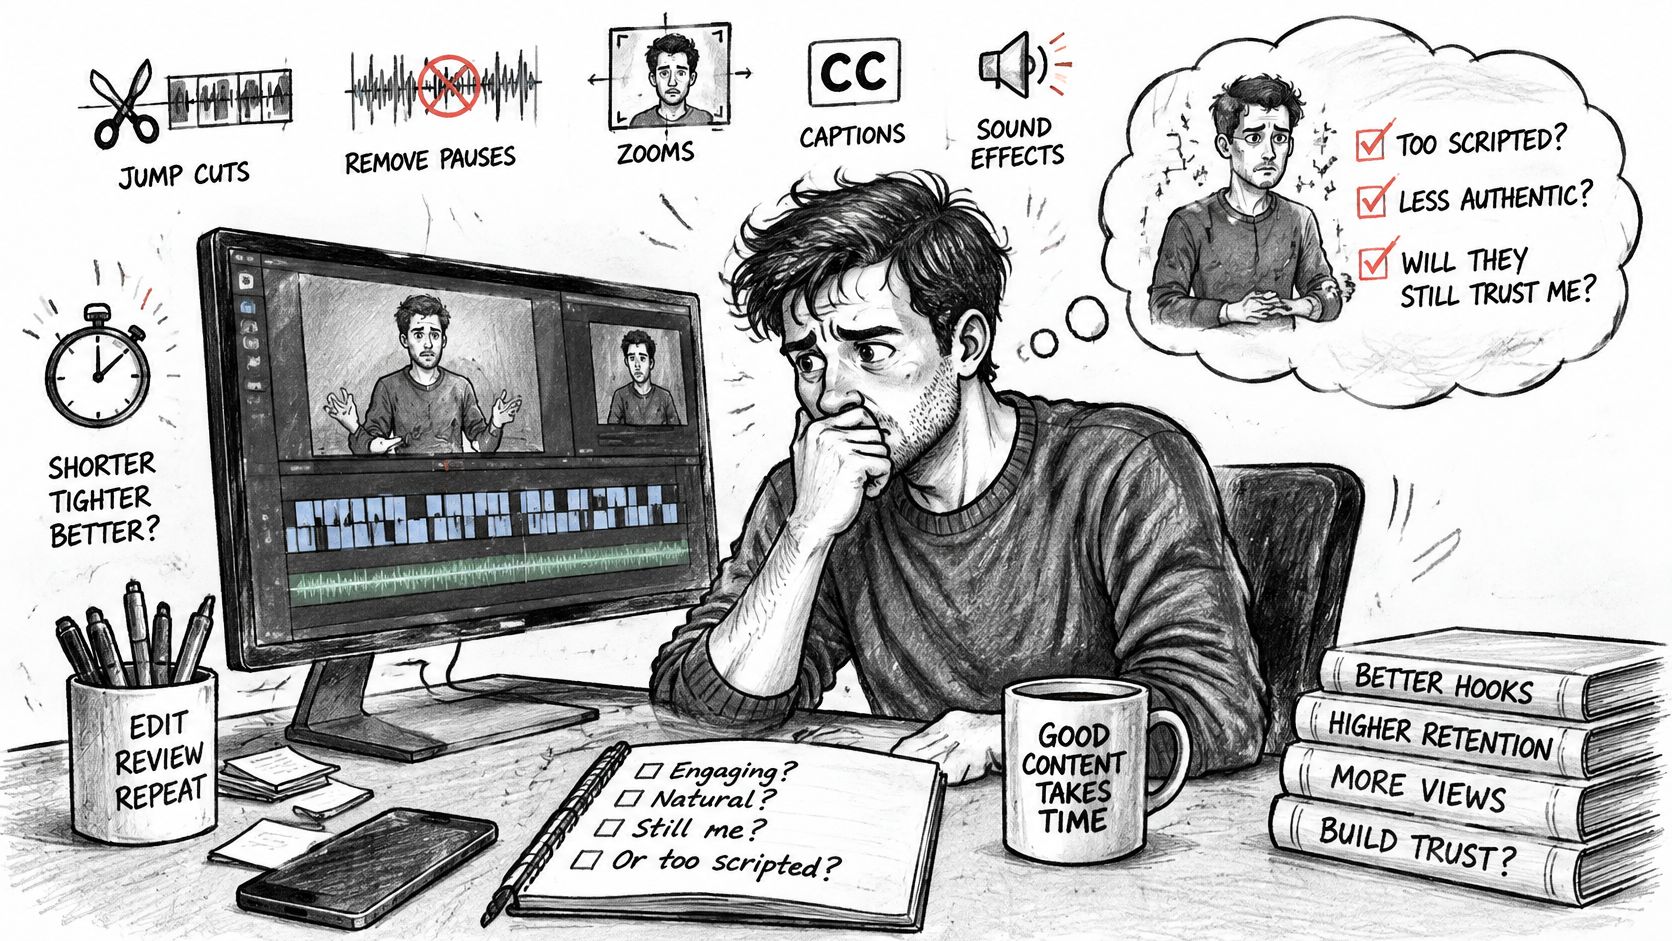
The same edit that makes a clip brisk can make its speaker look rehearsed. A tightly assembled testimonial may be easy to watch yet leave the viewer wondering whether they've heard the customer's actual opinion.
That tension can turn editing into an exhausting search for another effect to add.
Aspire reports that 93% of marketers using user-generated content say it performs better than traditional branded content. That's industry context for creator-style work, not evidence that increasingly aggressive editing improves it.
Editing techniques and when they backfire
| Technique | Helps when | Erodes trust when | Quick test |
|---|---|---|---|
| Jump cuts | Removing stumbles and dead air | Continuous cuts make speech feel assembled | Watch a passage muted for distracting position changes |
| Zooms on every line | A closer view emphasizes a key claim | Constant motion looks nervous or formulaic | Remove zooms that don't change emphasis |
| Word-by-word captions | Viewers need help following speech | Color and movement dominate the face | Ask an unfamiliar viewer what they remember |
| Sound effects on cuts | An effect clarifies a transition | Repeated whooshes make the delivery feel like an ad | Mute effects and assess what's actually lost |
| Removing all pauses | Unnecessary gaps delay the explanation | The speaker loses thoughtfulness or emotion | Restore a meaningful pause and compare |
| Music under the voice | A quiet bed supports the story's mood | Music masks words or imposes an emotion | Listen quietly through a phone speaker |
Keep the hesitation that reveals thought. Remove the hesitation that only reveals the speaker searching for their next line.
Test the degree of polish
Compare a minimally edited version, a conventionally polished version, and a more aggressive cut. Keep the message and audience comparable, then assess completion, relevant comments, click-through, and conversion where those measures are available.
Treat the video below as a viewing exercise: notice which changes help you follow the speaker and which merely announce the edit.
Don't assume a glossy finish automatically makes a real performance more credible. Preserve qualifications, uncertainty, and spontaneous reactions when they're part of the person's meaning, and don't splice separate statements into a stronger endorsement.
Accessibility and Pacing Checks Before You Publish
A 2025 review of 36 peer-reviewed studies found that although all sampled videos contained captions, only 72.7% applied them consistently across audio sources. Caption presence alone therefore isn't the same as accessibility.
Captions need to be complete, synchronized, readable, and consistent. Include relevant off-camera speech and identify a speaker when the viewer can't tell who's talking.
Pre-publish checks for captions and pacing
| Check | How to run it | Passing result |
|---|---|---|
| Sound-off test | Play the clip muted with captions on | The argument and opening are understandable without speech audio |
| Speed test | Preview at slower and faster playback settings | Sentences remain followable, with controls available for the viewer's preferred pace |
| Safe-area test | Preview on a phone with platform controls showing | No essential captions or titles disappear under the interface |
| Speaker and chapter test | Check speaker labels and navigation in longer clips | A viewer can identify speakers and find the relevant topic |
Reduce competing demands
Use short caption blocks and break lines at natural phrase boundaries. Choose text with strong contrast against its background, adding a solid or shaded backing when the footage changes brightness. Avoid piling a headline, animated captions, labels, and decorative text over the same area.
If captions appear late or lead the voice, check video and audio synchronization before changing their appearance. Styling won't repair mismatched timing.
For demonstrations, explain the important visual result aloud or provide an equivalent description. Saying that a button changes color is more useful than referring vaguely to something happening on screen.
Faster cuts may help some viewers stay engaged while making others work harder to process the same explanation. Ask someone unfamiliar with the topic to watch, then describe what they understood and where they needed more time. Fix the point of confusion, not merely the viewing duration.
Record One Clip This Week and Test It
Choose a topic you can explain without researching a whole presentation. A product feature you actively use, a recurring customer question, or a small practical lesson is enough.
Give each day a finish line
- First day, choose the message. Select a format and write its goal in a sentence. Decide what evidence the viewer needs before you write the opening.
- Next day, record. Prepare the shot, test the sound, and capture the explanation plus supporting footage. Save a take that communicates clearly rather than continuing until you sound exhausted.
- Editing day, build the simplest useful cut. Put the argument in order, remove distractions, and verify the captions against the recording.
- Review day, check access and comprehension. Run the sound-off, speed, safe-area, and speaker checks. Fix anything that hides information or makes the explanation difficult to follow.
- Sharing day, gather a response. Publish or send the clip to a small relevant group. Note completion information where available, but also ask what viewers understood and what they wanted clarified.
At Mimic, our workflow starts with choosing a UGC style and uploading your clip with any demonstrations or images. We transcribe the speech and return a cut, captioned video; most outputs are ready to post as they come out, and no editing experience is needed.
Automation can shorten the first pass, but it doesn't choose an honest claim, improve a poorly recorded voice, or decide whether a pause matters. Those remain creative judgments.
Record a clip now while the idea is clear. Before posting, run the checks and make sure the finished version still sounds like something you would say to a person.
Turn your raw talking-to-camera footage into a cut, captioned video with Mimic. Choose a style, add your recording and any product demonstrations, then review the result for clear speech, accurate captions, and a delivery that still feels like you.